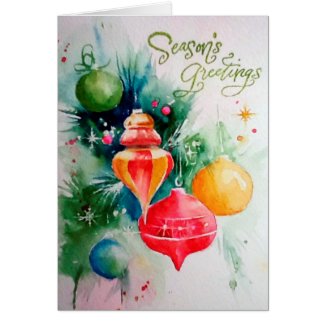
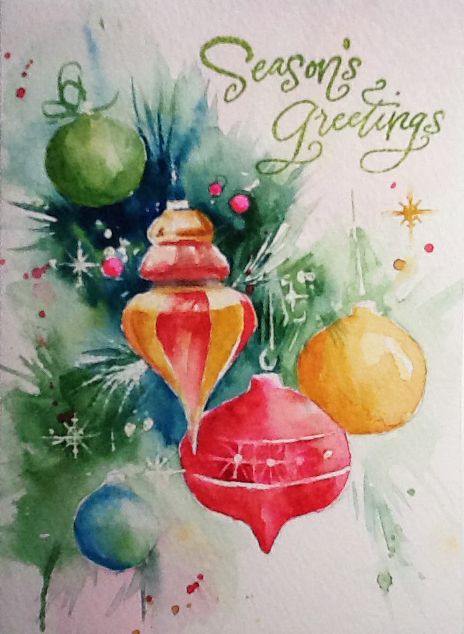
Watercolor Christmas Card
Drawing and Masking
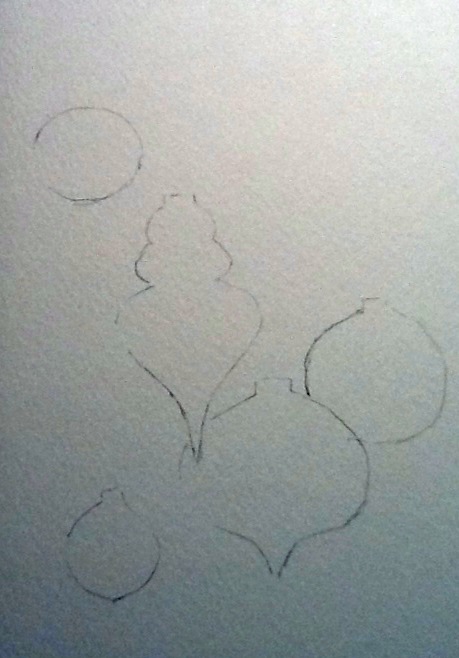
This card was painted on Strathmore Watercolor Card which are 5 inches by 6.75 inches and 140 pound paper. I drew the ornament shapes first. To make the fancier ornament shapes, I folded a paper in half and drew half of the ornament. Then I cut out the shape and unfolded which made a symmetrical ornament template to trace onto the card with a watercolor pencil.
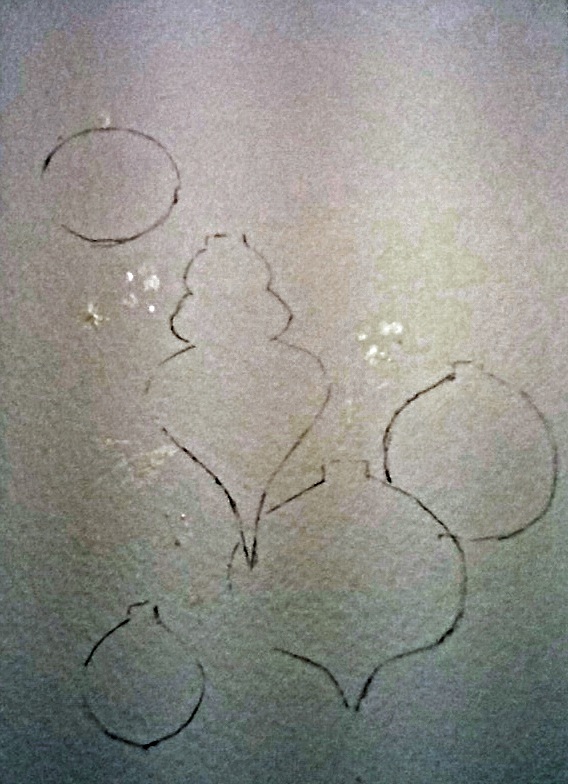
Before painting, I used some masking fluid –which you can barely see in the middle image. I made some sparkly star shapes, some dots. Tip: Make a middle dot and 6-8 smaller dots with masking fluid then drag a pin or toothpick through the dots to make a star/snowflake shape as shown on the right.
I masked the top silver part or the ornaments including one or two half-loop shapes. On some ornaments, I only masked the very top right corner. I also masked part of the design on the red ornament. At the end, I will scrape out white with a razor. and lift some paint to get the tiny lines. For now just mask the two horizontal curved lines and the dots.

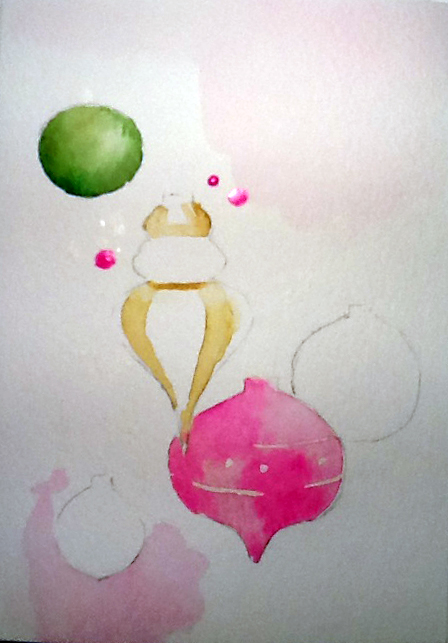
Paint The Ornaments and Some Light Background
To paint the red ornament, start with a light, bright red such as opera and paint the entire ornament. Paint a few medium sized dots of the same color around the top of the larger ornament.
Make a very wet, light wash of the same red and paint the top right corner of the card and paint under the bottom ornament. With water, soften the edges of these washes so they blend in to white. This helps deaden the white of the card on those edges and gives a richer feel to the finished card.
While the paint is still wet/shiny, on the red ornament, drop in rose or red paint on the top left and bottom right
Paint the top green ornament. First paint with water where the ornament is lightest (right/middle). Then, starting at the outer edges, paint sap green. Let the paint flow into the water. If needed, use a damp brush to keep the light area white. Use a darker green such as thalo and paint the left side.
Begin painting the larger ornament with quin gold as shown below. The right gold ornament uses the same technique as the green ornament. Paint the bottom ornament using a medium blue paint. Start with a very watery, lighter blue mixture and darken it on the left edge.
Deepen the Ornament Colors
Let the painting dry completely. Then glaze another layer of color over the ornaments by painting over the dark areas and, then use a damp brush to soften and lighten the color as it moves toward the highlighted area. Keep a Viva paper towel handy to blot the highlighted area of the ornaments to keep them very light.
Use red paint on the red ornament and try to paint small triangles of color around a few of the circles to form the star shapes. Keep the top right and bottom left/middle lighter. Glaze a bit of red over the small dots at the top also.
On the bottom ornament, paint a light wash of sap green on the bottom right and then continue with blue for the rest of the glaze.
On the large ornament, paint another layer of gold as shown below. To deepen the gold sections, add a bit of orange to the quin gold paint.
Do the same for the gold ornament.
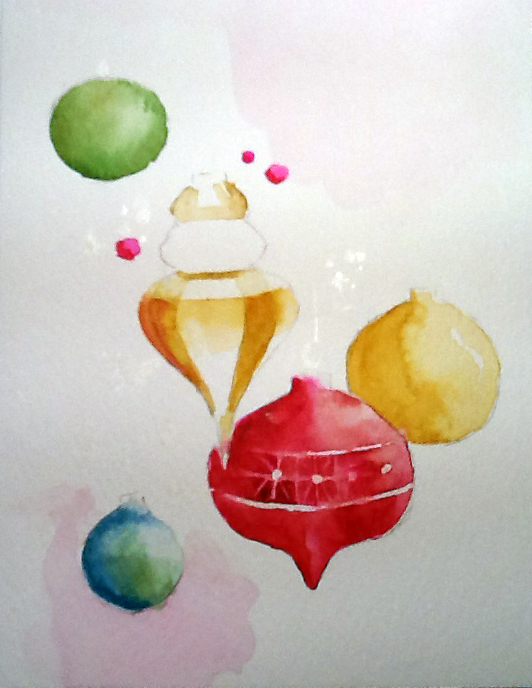
Dry the large ornament and then paint red over the gold paint on the red segments. Leave a thin bit of white between the segments and on the right side. Keep the bottom tip very light. Dry again and deepen the red areas that are darker. Mix some dark blue or green with the red and paint the middle (indented) line on the large ornament. If necessary, dry the painting and glaze one more time to deepen the darker areas and give all the ornaments a rounder shape.
Paint the Greenery
Paint the greenery using greens and blues. Use the same colors as you used in the ornaments to paint the background. Paint dark color around the main ornament and use water to let it fade out toward the edges. Use a thin rigger to pull out some evergreen leaf spikes. Let the painting dry (have some wine), then paint another layer with more spikes. You might need even one more layer.
Cover the ornaments with paper and flick some green paint to make dots. I shook the card to let one juicy drop flow down on the bottom. While you are having fun with the drops, add some red and gold ones too. Paint some snowflake/star shapes with gold. Paint a green bow on the top ornament.
Add White
Remove the mask then add white shapes. Lift color off the large ornament where the light hits using a damp, stiff brush. With a small, stiff, damp brush (fabric brushes work great), lift white from the red ornament. Where the mask was, use the stiff brush to soften some of the edges. Finally, use a razor to scrape out some evergreen shapes, the star shapes, the fine lines in the red ornament, and the strings at the top of the ornaments.
I used a “Season’s Greetings” stamp with moss green ink and clear embossing powder which gives this a really professional look. You could use sap green paint and paint your own message if you don’t have those supplies. You can use watercolor paint with stamps also.