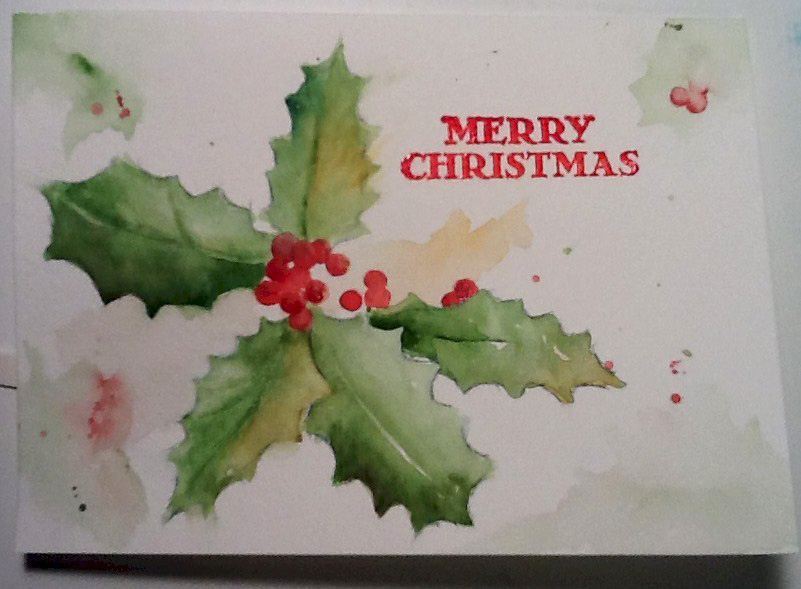
Watercolor Christmas Card
Plan Your Design
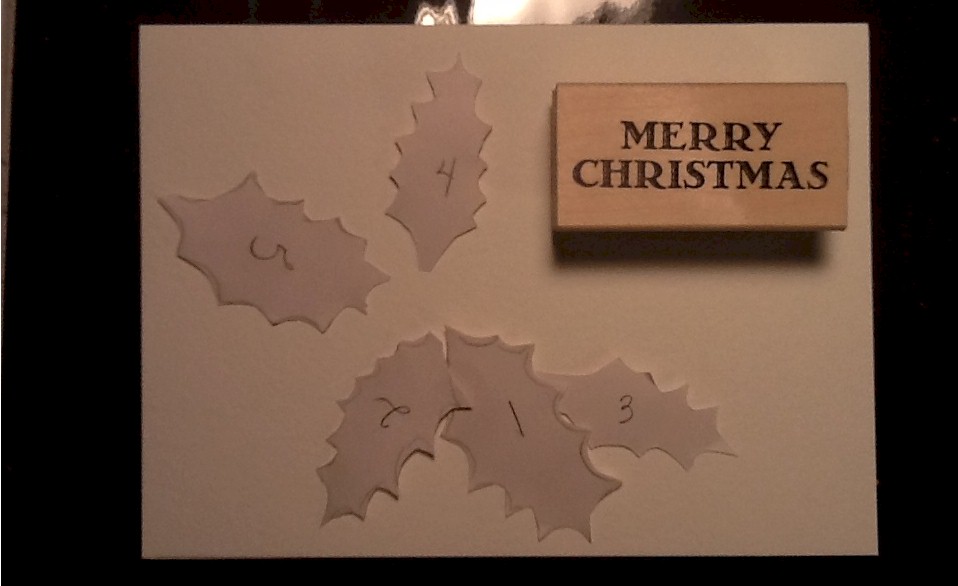
This card was painted on Strathmore Watercolor Card which are 5″ x 6-7/8″ and 140# . Begin by positioning the holly leaves as you desire. I will be using a stamp for the words so I put the stamp in position as I plan. I use a watercolor pencil to trace the design.
Underpainting
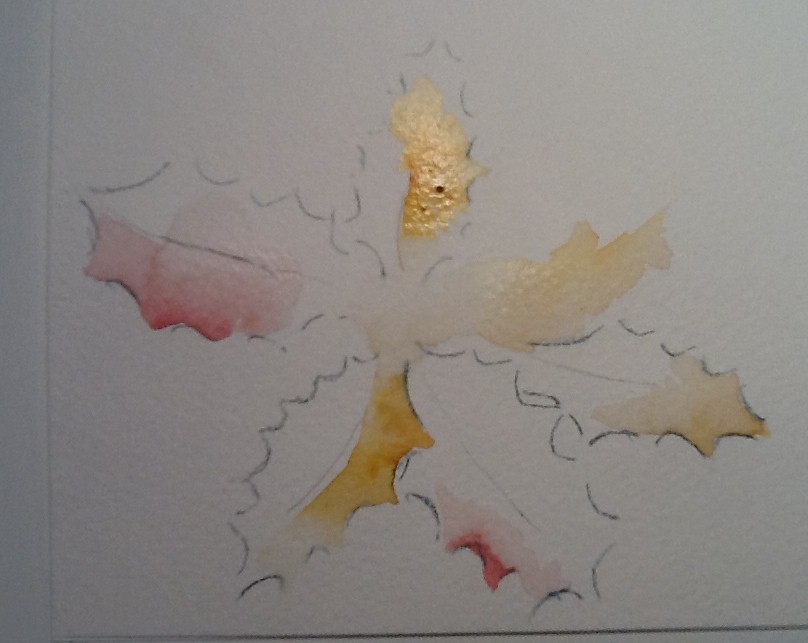
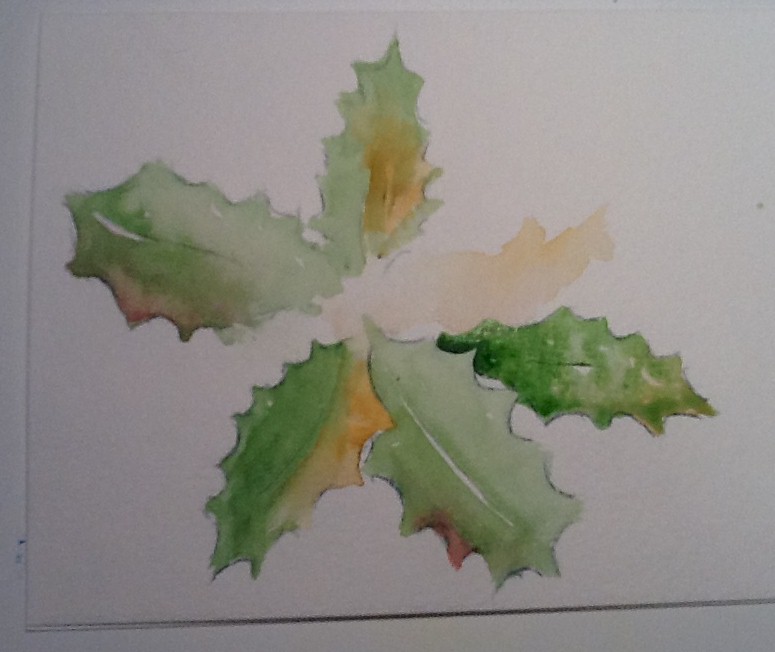
Leaves that are all green will look flat and boring. To add life, first paint a very light layer of golds and reds as shown. To fade out one side, use a clean, damp paintbrush and paint along the inside edge. Leave the outside of the leaves sharp — do not fade those edges.
As you are painting, keep the center area light. Use water to fade and use paper towels to mop up color.
While the paint is still wet, darken the tips of some of the red/gold areas. You can also loosely indicate a background leaf or two using gold (or green). I painted a suggestion of a gold leaf on the top right.
Let this step dry completely — use a hairdryer.
Paint The Leaves
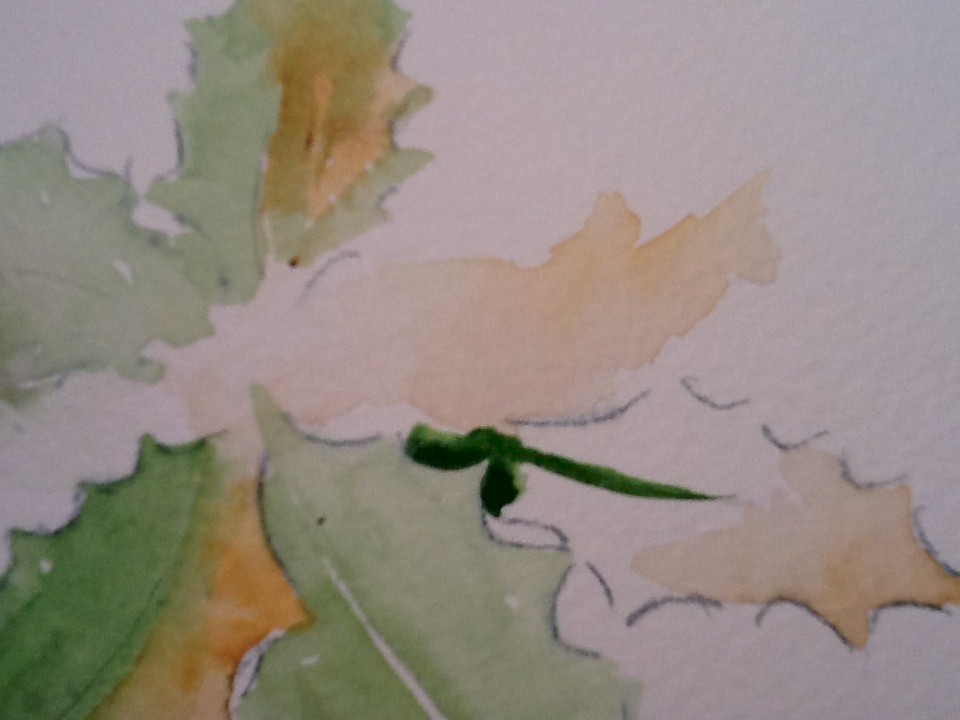
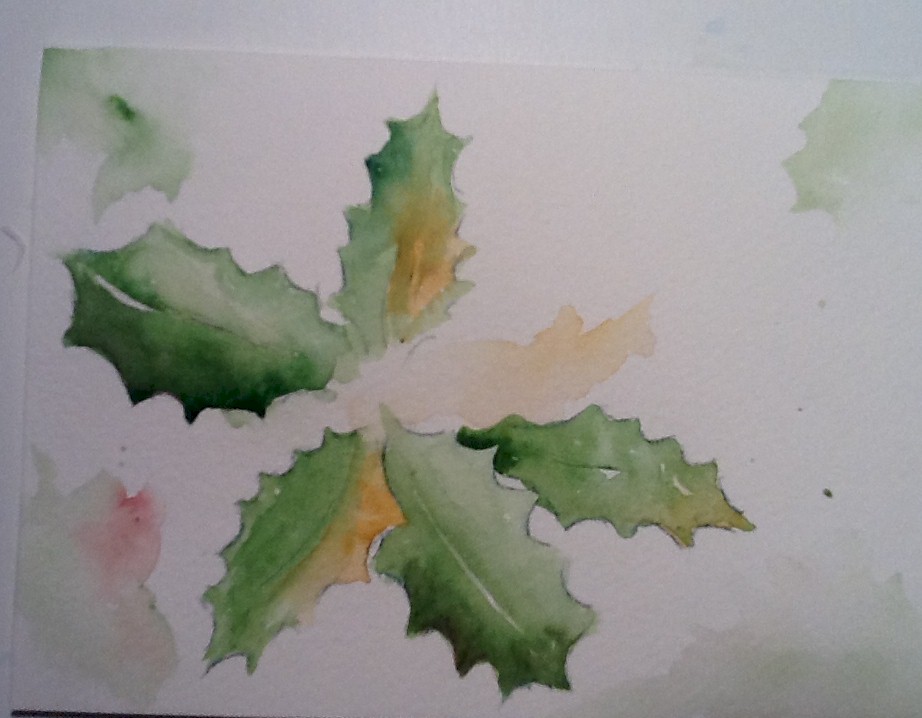
Once the underpainting is dry, paint the leaves green. On one or two leaves, paint around the center vein so that remains white. Darken some areas and paint other areas lighter. Use clear water on some edges and in the middle of some leaves. Pay special attention to overlapping leaves. In the image below left, I show an example of painting around the top leaf with a dark green stroke. I later use clear water to blend it out (see right).
Another Layer on the Leaves
Dry your painting and add another layer of green to darken as necessary. Add a very diluted/thin layer of green, golds, reds to the edges of the card — to the corners. Make it very loose. At the top right, suggest a few points of a green holly leaf.
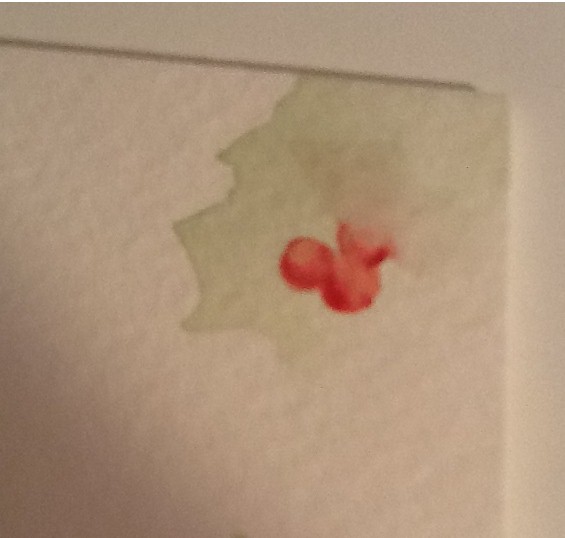
Paint The Berries
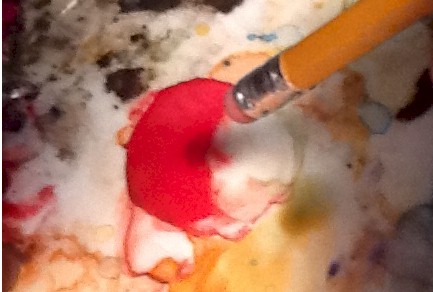
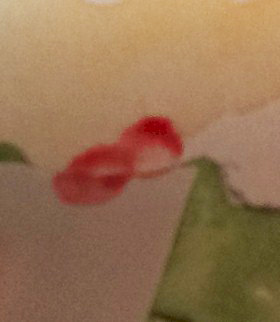
To paint the round berries, you can use the end of a pencil dipped in red paint, if desired. Or you can just paint small circles freehand. Overlap the berries.
To paint the berries hidden behind the leaves with your pencil end, first cover the leaf with a piece of paper (cut a small arc) as shown on the right.
Enhance the Berries
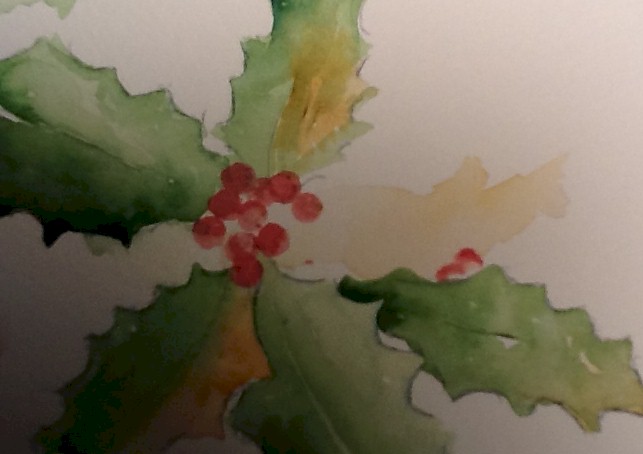
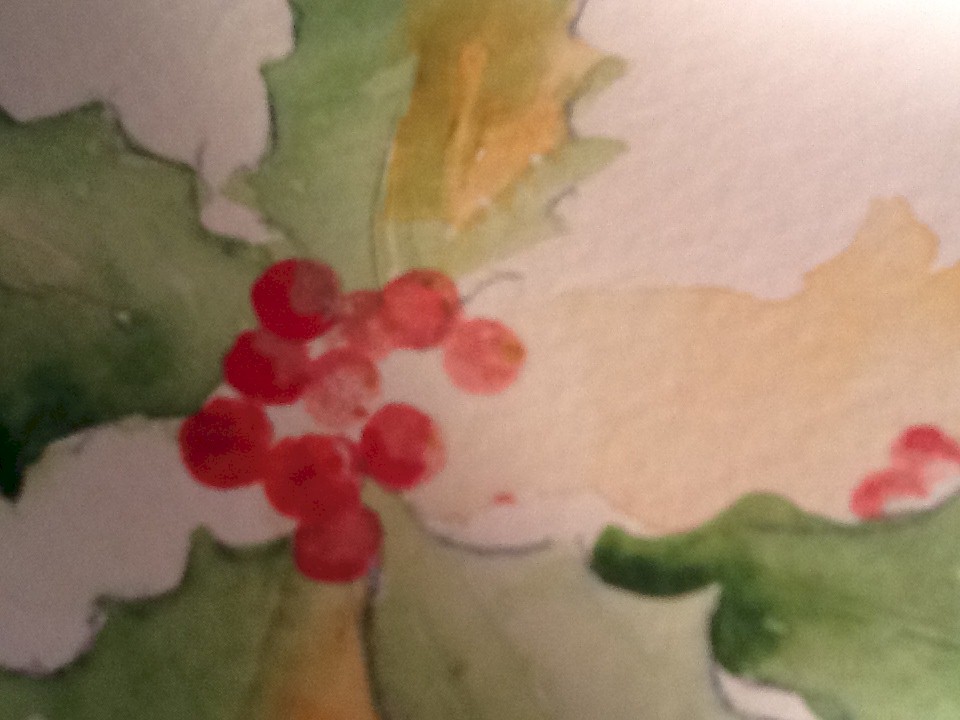
Join some of the inner berries into one mass — fill in between so it doesn’t look like a lot of dots. Let the berries dry and darken one side (I did the bottom left edge). You could also lighten a few on the top right — opposite side.
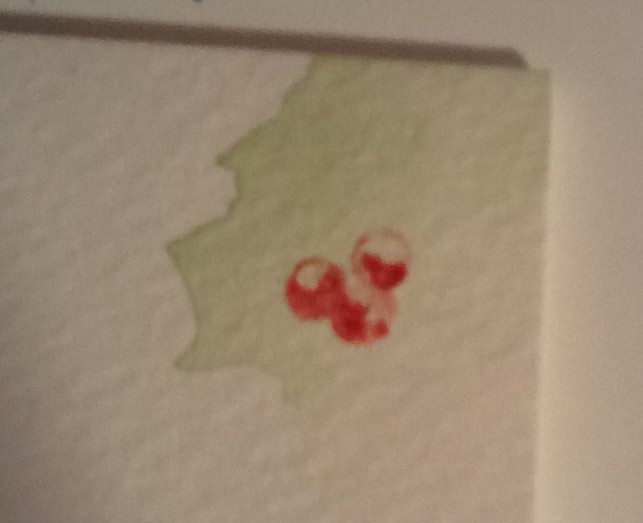
Paint A Few On the Top Right
Put two or three berries in the top right corner. Blend out one berry so that it loosely joins the background.
Finishing Touches
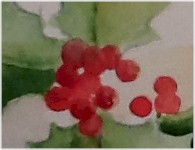
Finish up by adding some veins to the leaves and spattering some red and green dots. In the final image at the top of this page, you will see that I used a stamp to write Merry Christmas. I also used clear embossing powder for a professional touch. However, you can use a red pen and write your own message if you do not have stamping supplies.