Watercolor Holiday Card
Drawing the Trees
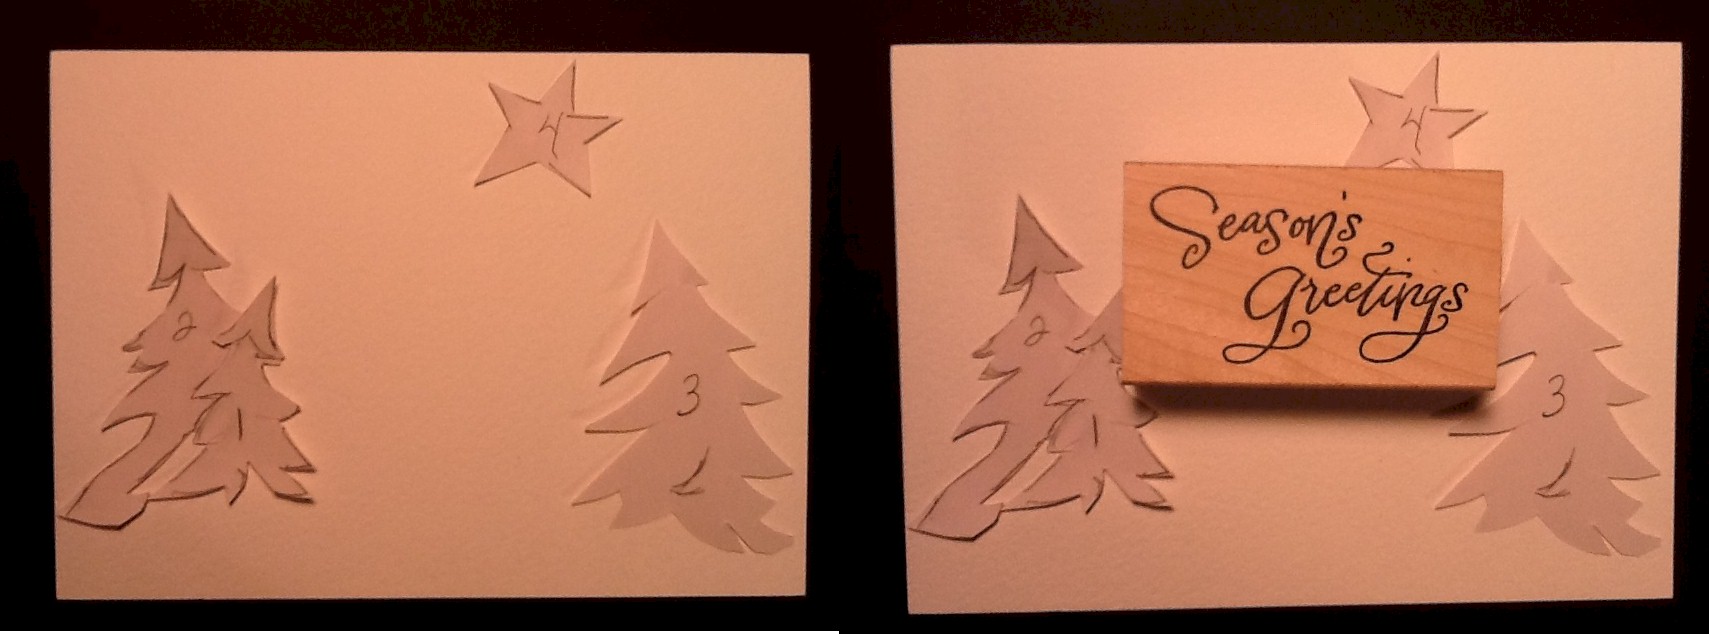
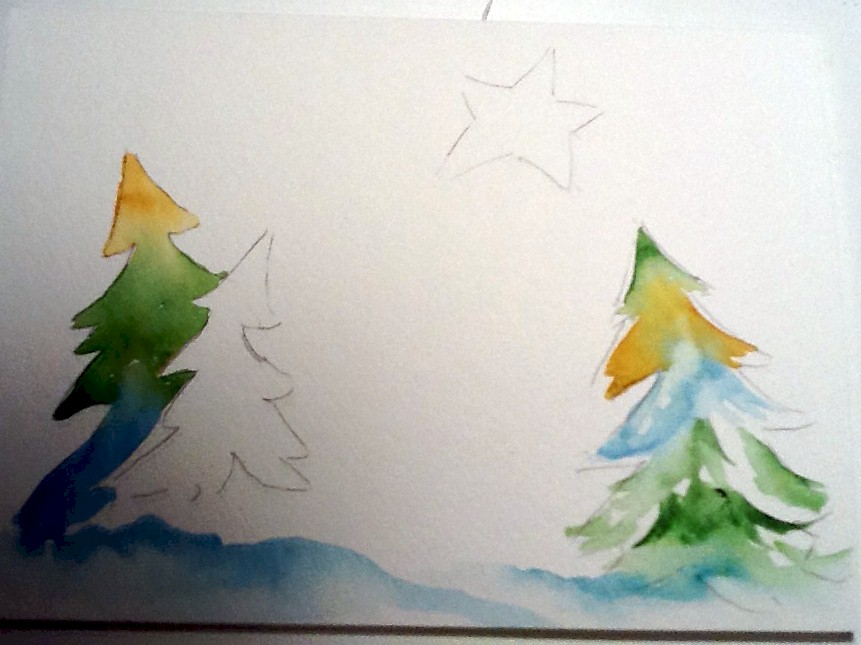
This card was painted on Strathmore Watercolor Card which are 5″ x 6-7/8″ and 140# . Begin by positioning the tree shapes using the template as shown on the left. I used a stamp for the wording so I needed to make sure the wording would fit by placing the stamp on the page during the design stage. You could place a Star of David instead of the 5 point star, if desired for a Hanukkah card.
Paint The Left Tree
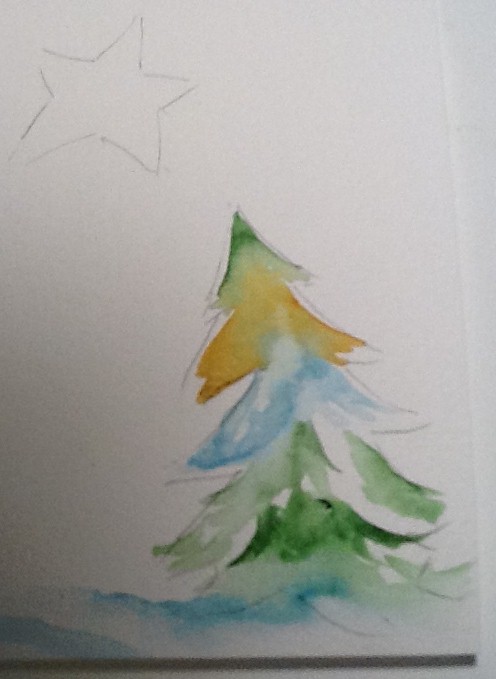
Begin with quin. gold on the top, move to sap green, then paint a medium blue (cobalt) on the bottom. Continue to paint that blue into the snow on the ground with one sweeping stroke. While still wet, use a clean damp brush and lift up some color on the inside of the tree. Also, again with a damp brush, paint the bottom of the blue snow to allow the paint to soften into white on the bottom. Finally, darken just a bit with the blue under the tree.

Right Tree
In the same manner, paint the right tree. Start with green on the top, then gold. In the middle use the same cobalt blue but dilute it so that it is a light shade. Paint the bottom branches a light sap green leaving a bit of white areas shaped like a branch or two. You could also lift some white shapes with a barely damp brush.
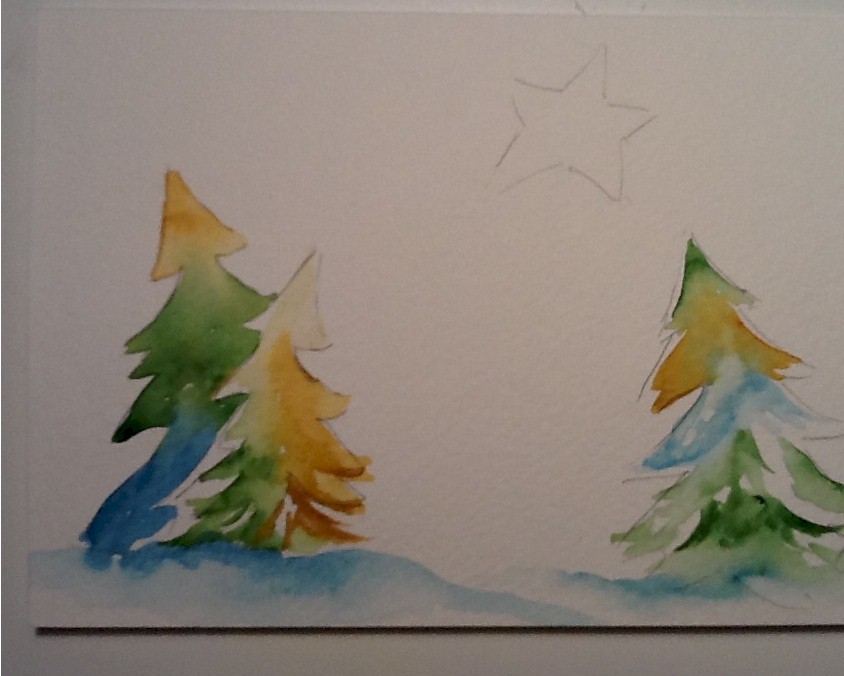
Use the blue to paint under the tree and soften with clean water on the bottom edge — leaving a path of white between the trees. Finally, when almost dry, paint a few dark branches toward the middle of the bottom.
The Little Tree on the Left
Paint the right side with gold and darken the gold as you move down. On the left side, LEAVE WHITE SHAPES between the trees. Paint the bottom left green blending with clear water into the gold on the right side.
The Star (or Star of David)
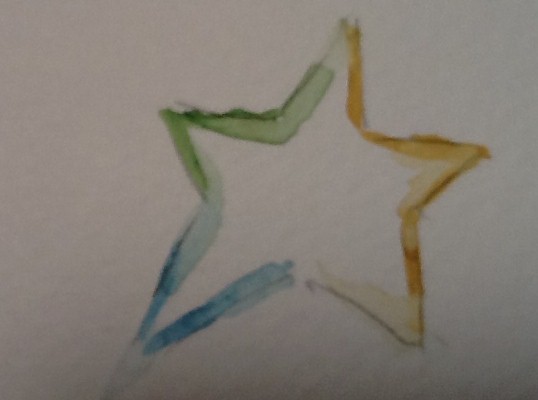
Paint the star in the sky moving from golds to green to blue as shown. Paint at least half of the star gold. If desired, paint one tip a bit longer by taking a damp brush and pulling the paint out. I did that on the blue, bottom tip.
Add Red & Stamp Wording
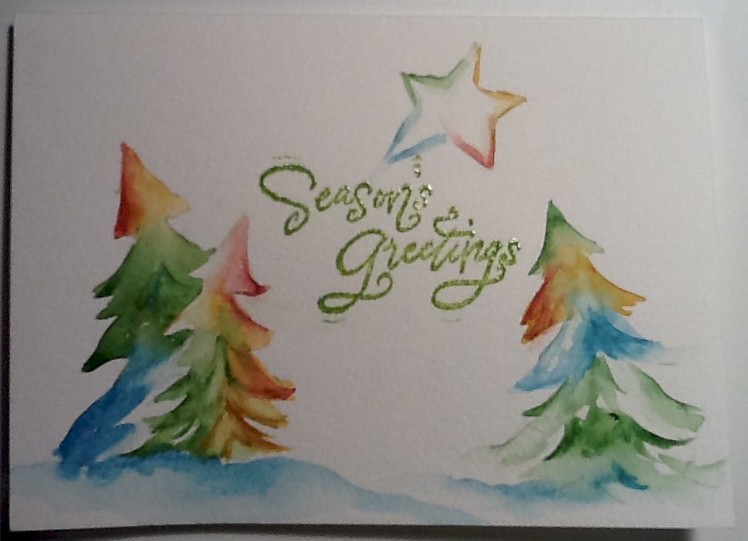
Once the paint has dried, add red paint to the star and to all three trees. Paint over some of the gold paint with red. Paint the branch starting at the tip and sweep up the outside edge. Then soften with clear water toward the inside. For the star, just paint one tip and blend with clear water toward the gold inner corner.
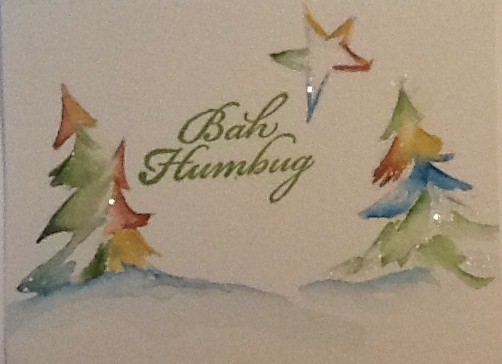
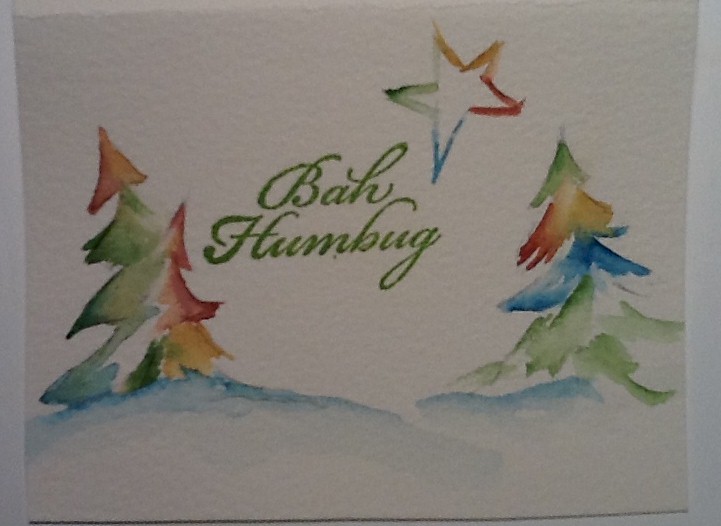
I used a moss green stamp and embossed with clear powder. You could also paint your own message or use a marker to draw your greeting. The right image below is a different card I made with the same design and a “Bah Humbug” message.
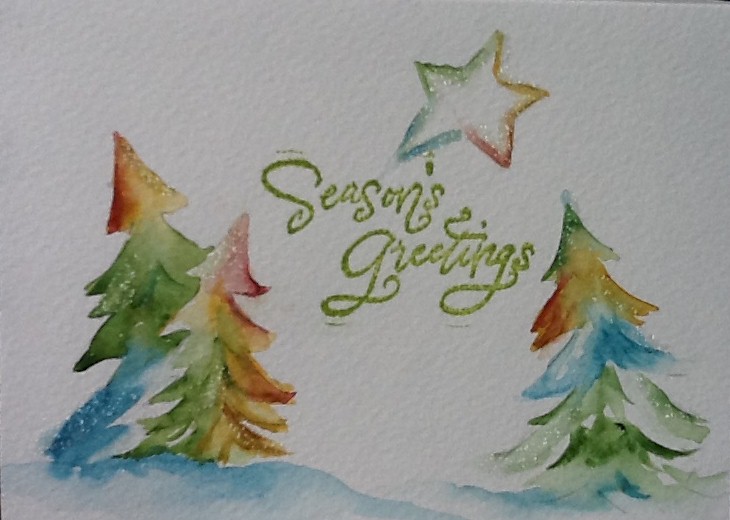
Glitter
To really make this card sing, you might add some glitter. I used a glue pen to draw on the inside painted edge of the star. Then covered with glitter. When glittering the trees, just paint some branches, not the entire tree. The top of the tree on one side and the bottom branches on each side should be glittered. Then, just use your judgement and glitter a few other middle branches. Think of where snow might be. Here are the final cards: